La seule page du site de support V2 disponible dans vos paramètres régionaux est celle de la bibliothèque vidéo. Le lancement complet du site Web arrivera prochainement.
Vous recherchez d'autres contenus ? Retournez sur le site de support V1.
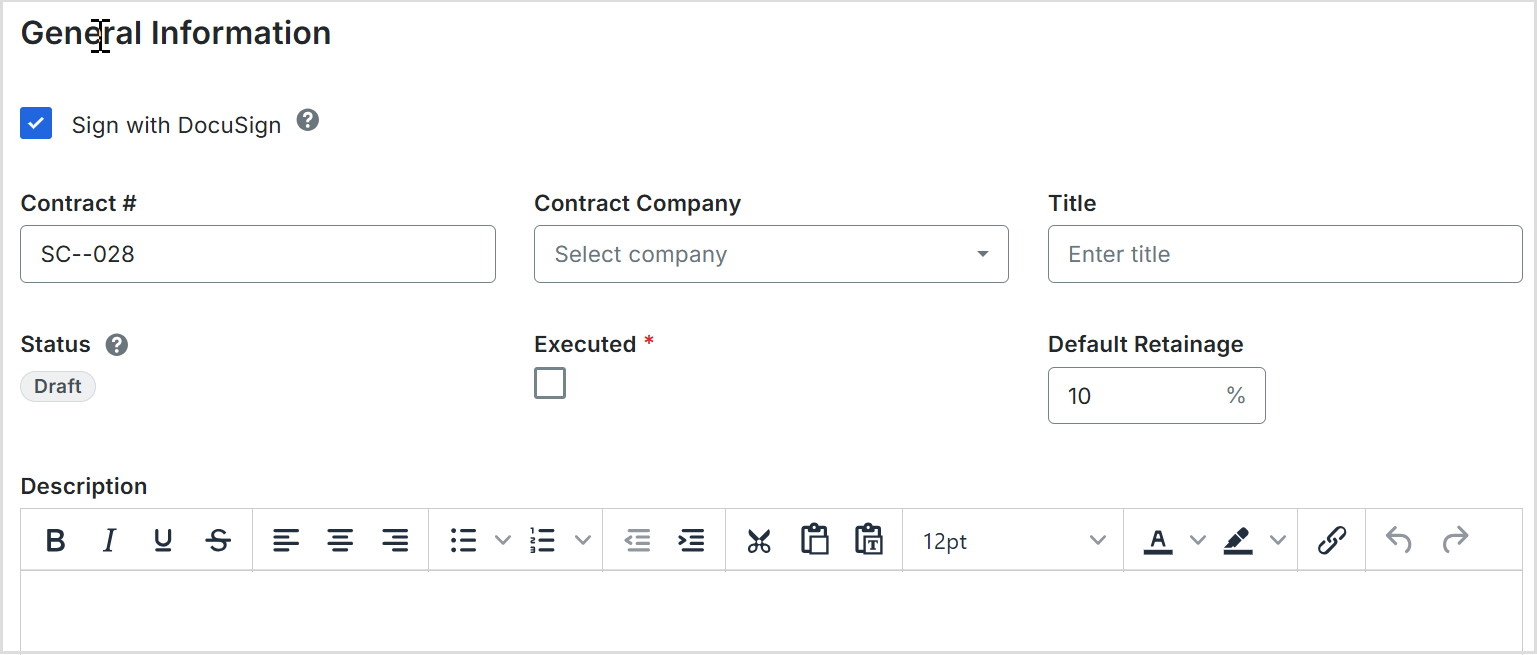
If you do NOT number your contracts using sequential numbering, you can manually enter a unique number for each prime contract. To do this, type over the existing entry in the Number box. Duplicate contract numbers are NOT permitted.
Contract Company
Select the name of the project owner's or the project client's company from the drop-down list. This is the company that either owns the construction project or the client who has hired your company to oversee the project work. To appear as a list option, Add a Company to the Project Directory.
Title
Type a descriptive name for the contract.
Status
Procore automatically assigns contracts the Default status. To select a different status, choose one of the status labels from the drop-down list. Options include
Pour créer des ordres de changement et des factures, le statut de votre contrat doit être défini sur Approuvé ou Terminé.
Executed
Place a mark in this check box if the contract has been fully executed. A fully executed contract is a legally effective agreement that has been signed by authorized representatives for each party.
Default Retainage
Enter a number to represent the percentage that will be withheld as retainage on the line items of the contract's Schedule of Values. For example, if you plan to withhold ten (10) percent of the line item's value, enter 10%.
Description
Enter a more detailed description of the prime contract. You can apply the options in the formatting toolbar to your text.
Attachments
To add file attachments to the contract:
Click Attach Files.
In the Attach Files dialog box, highlight the location where the files to upload are stored. Options include:
My Computer. Click Upload Files to open your computer's finder. Select the files to upload and click Open.
Photos. If the Photos tool is active on the project, choose the location from the Select Album list and then search for the file(s) to upload.
Drawings. If the Drawings tool is active on the project, choose the area from the Select Area list and then search for the file(s) to upload.
Forms. If the Forms tool is active on the project, choose the template from the Select Template list and then search for the file(s) to upload.
Documents. If the Documents tool is active on the project, navigate to the folder storing the file(s) to upload and then highlight them.
Click Attach.
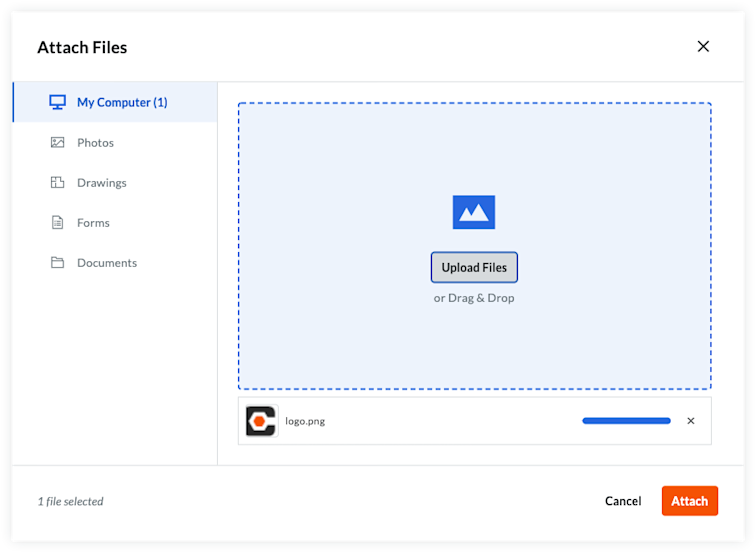
A progress indicator shows you the status of the upload.
Click the Close (X) icon on the Attach Files dialog box.
Set the Accounting Method
The first step when updating a Schedule of Values is to define the accounting method for the contract. The method you choose also applies to all change orders and/or invoices for that contract. The accounting method can only be changed BEFORE you add line items to an SOV. Procore does NOT permit you to change a contract's accounting method after line items are added.
Quelle est la différence entre le contrat basé sur le montant et le contrat basé sur les unités/quantités ? Pour plus de détails, voir Comment définir la méthode comptable d’un contrat ou d’un financement ?
To change the accounting method to Unit/Quantity, click the Change to Unit/Quantity button.
To change the accounting method back to Amount-Based, click the Change to Amount Based button.
Update the Schedule of Values
There are two (2) methods for updating the subcontract's SOV:
Add Line Items to the Schedule of Values
Import Line Items to the Schedule of Values from a CSV File
Add Line Items to the Schedule of Values
By default, you can input line items on the subcontract's SOV at any time, as long as it is NOT in the Approved status.
If your project team has turned the 'Enable Always Editable Schedule of Values' configuration setting ON in this tool, users with the required user permission to Edit Subcontracts can add line items to the Schedule of Values when a contract is in any status. To learn specific information about this setting, see What is the 'Enable Always Editable Schedule of Values' setting?
To manually add line items to the Schedule of Values:
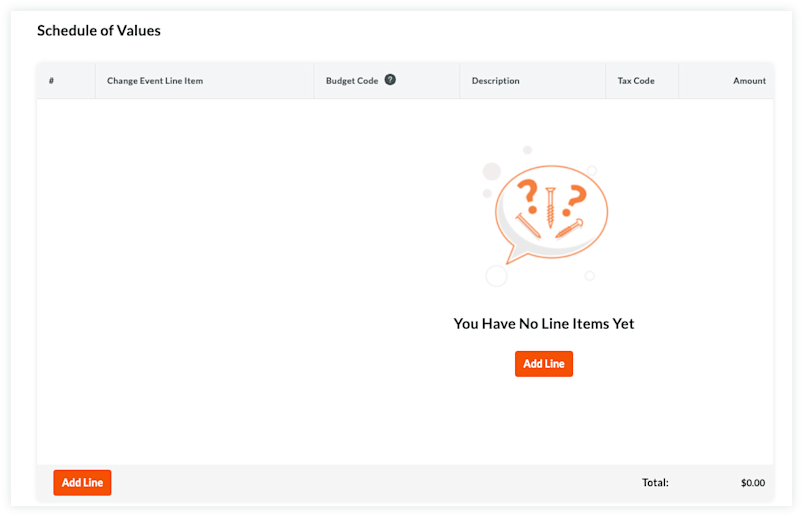
Choose from these options:
If the SOV is blank, click Add Line under You Have No Line Items Yet.
OR
If you have existing line items, click Add Line.
Procore creates new line items starting with the number 1. Subsequent lines are created in numerical order.
Designate a budget code for the new line item. You have these options:
To assign an existing budget code to the line item, start typing a code in the Search box and select the matching code from the list.
OR
To create a new budget code for the line item, click the Create Budget Code button. Next, select the appropriate segment items from the drop-down list(s) to satisfy your project's budget code pattern requirements. Then, click Create.
Depending on the accounting method you are using, choose the appropriate steps for adding a line item:
Optional: Repeat the steps above to add as many line items as needed.
Click Save.
Procore saves the line items on the contract's SOV.
Import Line Items to the Schedule of Values from a CSV File
In the Schedule of Values card, click the Import SOV from CSV button.
Click the Download CSV Template button and choose one of these options:
Blank Template. Click this option to download a blank template.
Template with Existing Line Items. Click this option to download a template that includes any existing line item data from your project's budget.
Open the template that you downloaded on your computer.
Enter the data that you want to upload directly into the template.
Ne PAS modifier ou réorganiser les en-têtes de colonne dans le fichier modèle.
After entering your line item data, make sure to save your file updates in the Comma Separated Values file format.
Navigate back to Procore. Then, in the CSV File section, choose one of these options:
Choose one of these options:
Add Additional Line Items. Choose this option if you want to create new line items using the data in your template.
Replace Existing Line Items. Choose this option if you want to erase any existing line items from the subcontract and replace them with data in your template.
Si le paramètre de configuration « Activer la ventilation des coûts toujours modifiable » est activé dans l’outil Engagements du projet, l’option « Remplacer les postes existants » est grisée et indisponible une fois qu’une facture est créée et que les postes sont facturés. En savoir plus, voir Qu’est-ce que le paramètre « Activer le Planning toujours modifiable des valeurs » ?
Click Import.
Add the Scope of Work
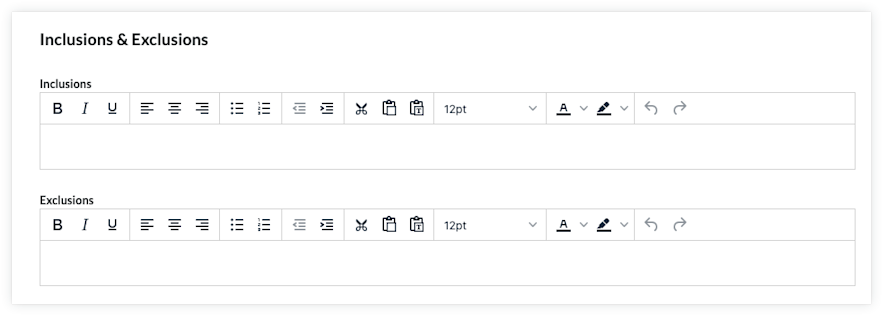
Contract inclusions and exclusions vary from project to project. However, the intent is to define exactly what is included and NOT included in the contract's price and scope of work. To update the contract's Inclusions and Exclusions card, do the following:
Inclusions
Add the contract's inclusions in this box. You can apply the options in the formatting toolbar to your text.
Exclusions
Add the contract's exclusions in this box. You can apply the options in the formatting toolbar to your text.
Update the Contract Dates
To update the contract with important dates, do the following:
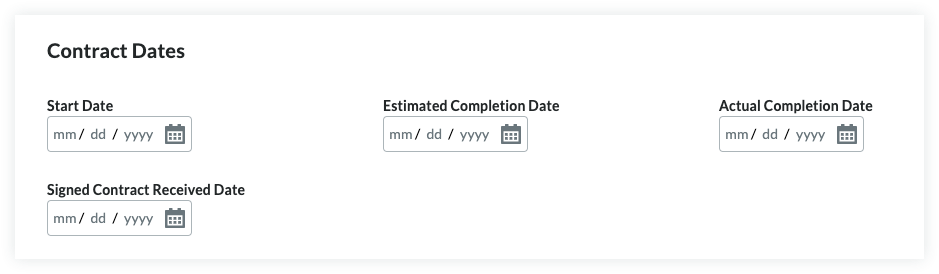
L’administrateur Procore de votre entreprise gère les dates qui apparaissent dans la section « Dates du contrat » en utilisant la fonction de champs configurables. Pour plus de détails, voir Quels champs de l’outil Engagements peuvent être configurés comme obligatoires, facultatifs ou masqués ?
Start Date
Select the construction project's official start date.
Estimated Completion
Select the construction project's estimated completion date from the calendar control.
Actual Completion
Select the construction project's actual completion date.
Signed Contract Received
Select the date from the calendar control. The signed contract received represents the date that the executed contract was received.
Update the Contract Privacy
Using the privacy setting allows only project admins and the select non-admin users access. To change the contract's access permissions, do the following:
Check or Uncheck the Private box. Procore turns this setting ON by default.
Select an employee of the Contract Company from the Invoice Contact drop-down list.
Save the Contract
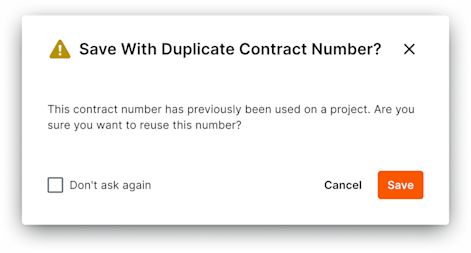 Si le # de contrat de l’engagement que vous créez a déjà été utilisé sur un projet au sein de votre entreprise, une fenêtre de confirmation apparaîtra pour vous demander comment vous souhaitez procéder. Si vous choisissez d’ignorer ce message, cliquez sur Enregistrer et le contrat sera créé. De plus, si vous ne souhaitez pas recevoir ce message lors de la création d’engagements futurs, vous pouvez cocher à nouveau la case à côté du texte Don’at as.
To save the contract, click one of the following buttons:
Create. Click this button to save the new contract and return to the General tab in view mode.
Create & Send with DocuSign®. Click this button to launch the Procore + DocuSign® integration and prepare the envelope for signature.
Cancel. Click Cancel to close the window and return to the Contracts tab page.
Voir aussi
Chargement des articles connexes...
 Outil Intégrations ERP : des conditions préalables, des exigences, des limitations et des considérations spécifiques peuvent s’appliquer, en fonction du système ERP intégré à votre compte Procore.