Create a Prime Contract Change Order
Background
Use the steps below when you need to create a prime contract change order.
Things to Consider
Required User Permissions:
'Admin' level permissions on the project's Prime Contracts tool.
Additional Information:
If you are using an account where is the Procore + DocuSign© integration enabled, see DocuSign©.
If the Change Events tool is active in Project Tools, you must complete the steps in Create a Change Event. Then follow the steps in Create a Prime Contract Change Order from a Change Event instead of the Steps below.
For companies using the
 ERP Integrations tool: Show/Hide
Not all ERP integrations support the sync of change orders. For those that do, additional requirements, limitations, and considerations vary depending on the ERP system your company's account is integrated with. See Things to Know About your ERP Integration for details.
Prerequisites
Steps
Navigate to the project's Prime Contracts tool.
Locate the prime contract to work with. Then click its Number link.
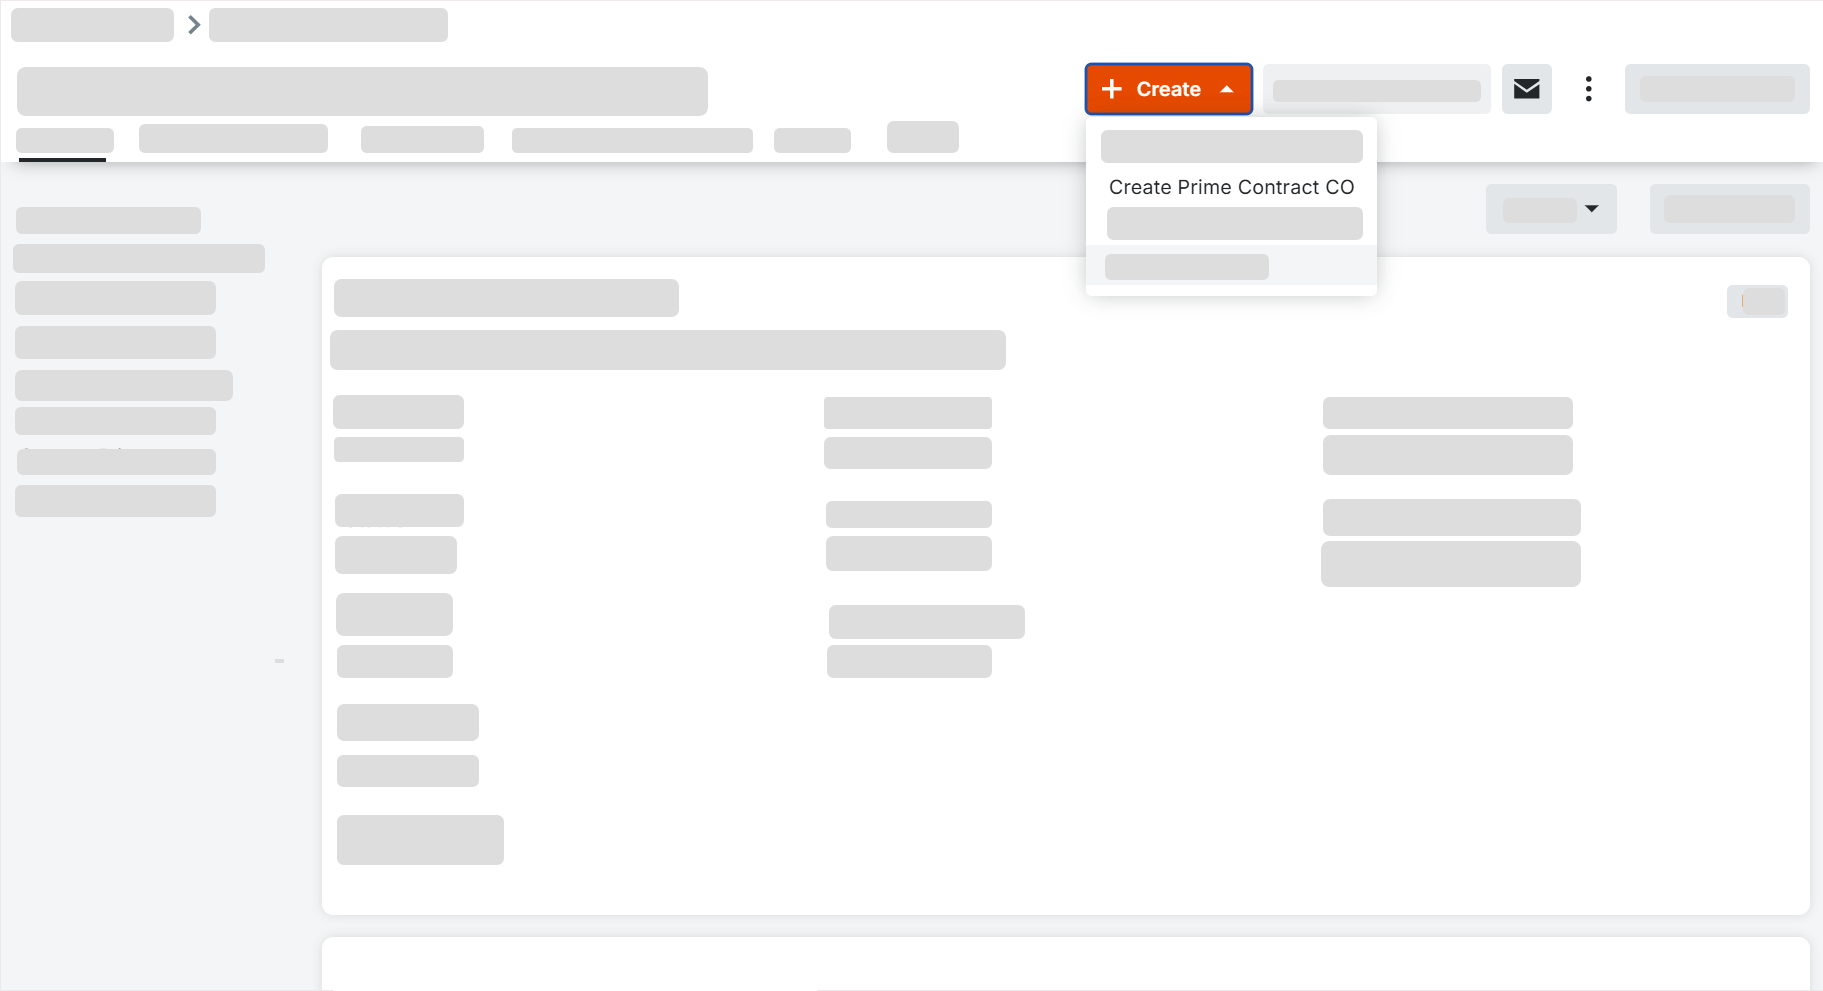
Click Create Prime Contract CO.
Complete the following fields:
Sign with DocuSign®If you have enabled the Procore + DocuSign® integration (see Enable or Disable the DocuSign® Integration on a Procore Project), a checkmark appears in this box by default. If you do NOT want to collect signatures with DocuSign®, remove the mark.
Tip
How do you collect signatures with DocuSign? After the data entry for the item is complete, Procore recommends changing the item's status to 'Out for Signature' before clicking the Complete with DocuSign button to launch the DocuSign® application. If you have not previously signed in, you will be prompted to Log In to DocuSign®. Once you are signed in, you can prepare the DocuSign_®_ envelope for signatures. After the signature process is complete, Procore automatically changes the status of the item to 'Approved' and marks the item as 'Executed'. To learn more, see DocuSign®.

#Accept the default number, enter a new number, or create a custom numbering scheme for this change order and future ones.
Notes
Procore automatically assigns the item a new number in sequential order. For example; 001, 002, 003, and so on.
To use a custom numbering scheme, enter any set of alphanumeric characters. Procore automatically assigns new numbers in sequential order using your custom scheme.