Steps
Manage Custom Groups
Assign the Invoice's Line Items to an Item in a Group
Manage Custom Groups
These steps show you how to navigate to the Manage Custom Groups window.
Navigate to the project's Prime Contracts tool.
Locate the prime contract associated with the owner invoice containing the configurable PDF. Then click the Number link.
Click the Invoices tab.
Locate the invoice that you want to customize in the list. Then click View.
Click the Configurable PDF tab.
Open the Add Group drop-down list.
Select any of the default groups in the list.
Optional: Click Manage Custom Groups.
In the Manage Custom Groups window, continue with:
Add a New Group to the Add Group Menu
These steps show you how to create a custom group so it appears as an option in the Add Group drop-down list in the Configurable PDF tab.
In the Manage Custom Groups window, click Add Group.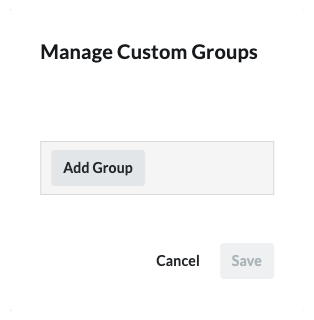
Type a label for the group in the Enter Group Name label box. Then press ENTER. Add as many groups as you want.
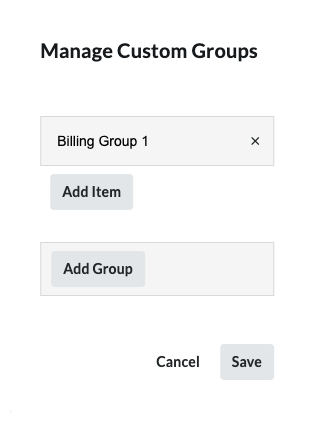
After you press ENTER, the system automatically saves the group name and adds it as a selection in the Add Group drop-down list on the Configurable PDF tab.
To delete a group, click the (x) next to the group name to permanently remove it and any items associated with the selected group.
Continue with Add Items to a Group.
Add Items to a Group
These steps show you how to add bill codes to a custom group.
In the Add Custom Groups window, locate the group that you want to add billing codes to.
Click Add Item.
In the Enter Item Name box, type a label for the code. Then press ENTER. 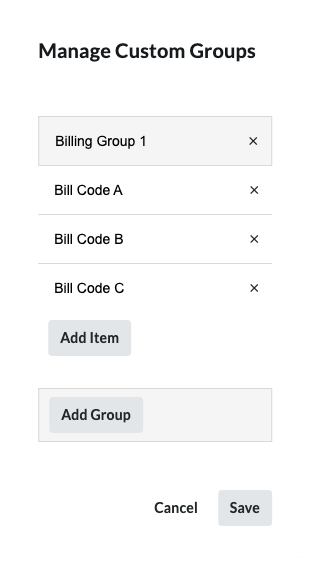
Click the Save button. A GREEN Groups Saved banner appears at the bottom of the page.
Continue with Assign the Invoice's Line Items to an Item in a Group.
Assign the Invoice's Line Items to an Item in a Group
After you have created the groups and items that you want to use for your invoice, you can start organizing your line items so they appear as you want.
Click the Configurable PDF tab.
Place a checkmark next to the invoice line items that you want to assign to a custom item. Note: This action changes the label on the Add Group drop-down list to Edit.
In the Edit drop-down list, select the group that contains the custom items that you want to assign to your invoice's line items. 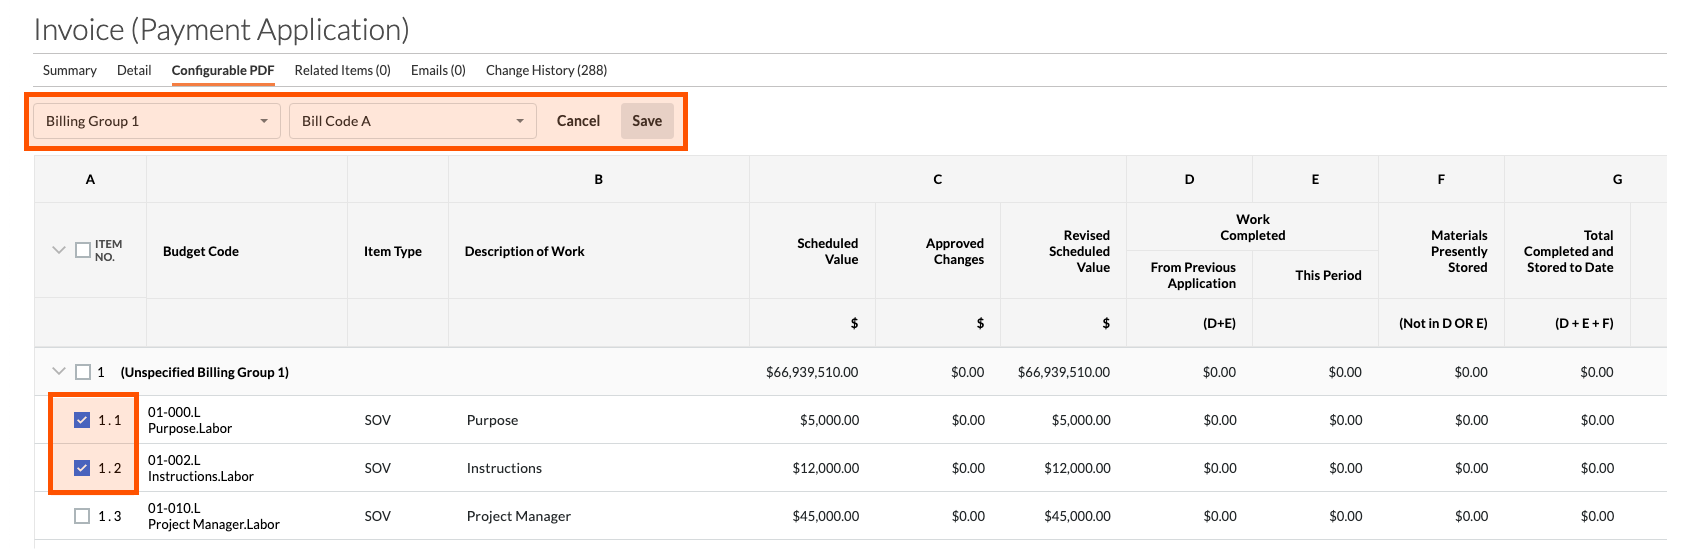
Click Save.
Any invoice line items not assigned to a custom item in a group will appear in a section titled 'Unspecified [Billing Group Name]'. There is no option to remove that naming convention.
If you do not want the 'Unspecified [Billing Group Name]' to appear on your invoice, it is recommended that you add an item named 'None' or 'Other' (or a term of your choice) to your group. Then assign your invoice's line items to that item in the group.
See Also
Loading related articles...